TOP 3 Methods to Set Zero Point for a CNC Milling Part
Prior to cutting a block as well as moving, the CNC machine needs to understand where to start, the start placement is the part zero utilized in shows. In this article, there are 3 ways exactly how to set absolutely no factor in CNC or just how to zero a CNC mill with stock prior to machining.
Table of Contents
What is Part Zero in CNC as well as Why It is essential?
Component no is the information corresponding to the 0, 0 coordinate on the CAD illustration, used to create g-code and full various other CAM work, in the g-code program, the X0Y0Z0 stands for the area of component absolutely no. The g-code commands are the direction to tell the CNC equipment what to do in the machining and also cutting process, including guide the pin to relocate particular ranges in each axis, all these activities require a recognized starting setting, which is the Component Zero.
Methods to Set Zero Point in CNC
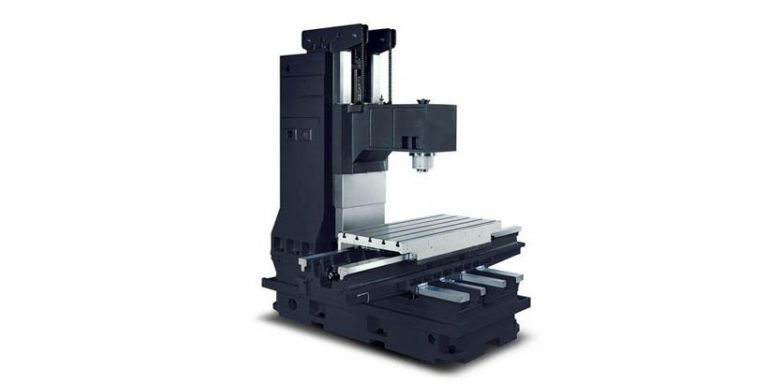
Choose a kind of metal (steel, lightweight aluminum, or others) as the stock and also tighten it in the vise. Make use of a hammer to hit the supply and also the handle, repeat as essential to ensure the supply, as well as the parallels underneath, can not relocate, parallels are additionally up against the vise. Make use of some other alongside appropriately raise your stockpile from the vise for through openings. There are 3 ways to set an origin on the CNC component.

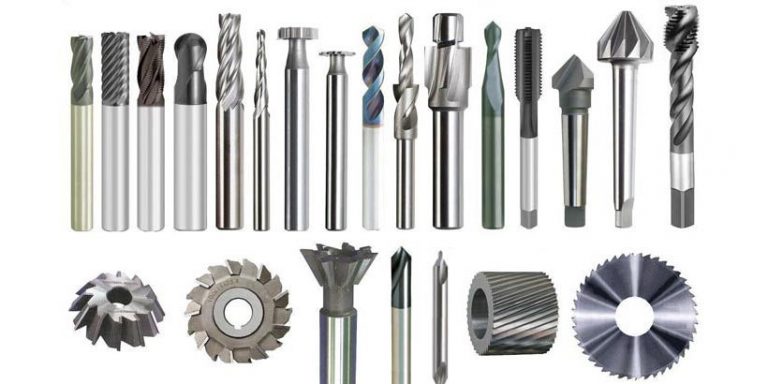
Make use of a drill chuck as well as a reminder
When you have enough material, the very first approach of CNC milling part zeroing is much better to utilize. Scribe two lines on your stock on where you want your beginning to be, after that move your pointer over the intersection on what you assume is close sufficient, finally to zero the X and also Y-axis (press X as well as Y).
Touch the supply somewhat with an end mill
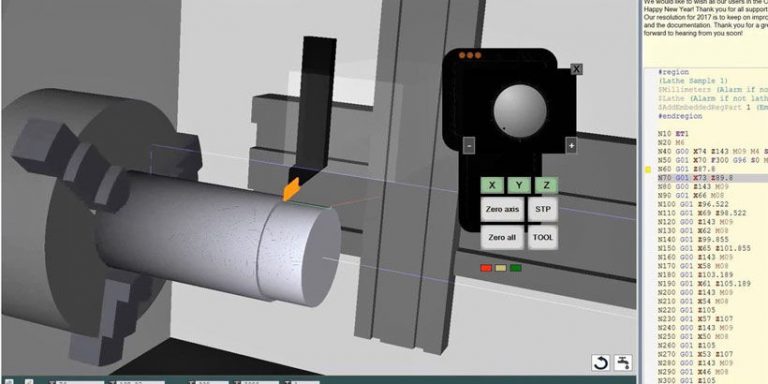
This method is quicker than the very first one. You do not need to eliminate and place a drill chuck with the tip after the end mill is reduced and also all set to cut your part. For zeroing the X-axis, activate the milling machine as well as gradually move the completion mill into the direction of the X-axis in the direction of the component, as well as quit when you see a small puff of metal shavings, and no the X-axis by pressing X.
Considering the device balanced out, which is the span of the end mill, after increasing the end mill above the part we can relocate in the x-direction towards the part by a distance equal to the distance, then absolutely no the X-axis by pushing X and outright collection, you will require to repeat this entire procedure to zero the Y-axis.
Use a side finder
The 3rd one is one of the most usual and also exact ways to situate component no on the CNC machine. The edge finder likewise uses the drill chuck, so with the edge finder, correctly set up alongside your component, prepared to turn on the machine, jab the side finder to make sure that it’s off-center and after that slowly concerning the component, note it will show up to become one piece and after that move to the left, this suggests we’re ultimately touching the component and all set to no. No. the Y-axis by pressing Y. Similar to the second technique, when using completion mill we need to think about the device offset, first elevate the edge finder over the component then move in its radius then zero the Y again by pressing Y.
For finding your component absolutely no on CNC machines, there are various other contemporary tools and strategies that can be used, such as 3D Taster, a Video Camera or Range, Laser Sight, CNC probe, and also more.